Setup
This is a guide on how to do your first-time setup for running the website locally and getting ready to make changes to the code base. If you are a developer, you should follow this guide before doing anything else!
This guide assumes you're a complete beginner at Python, Git, Postgres, etc. so don't be intimidated if you don't know what all of these things are. The main thing this guide assumes is that you know how to open up a terminal in your respective operating system (command prompt or Powershell in Windows, and bash/zsh in OSX).
We strongly recommend running this project via Docker Compose. You can attempt to run the project without Docker Compose, but instructions are not included.
We also strongly recommend using uv for Python binary + dependency management.
Dependencies
Install all of the following programs onto your computer:
Required:
- uv
- Git (first time setup guide here)
- Docker Desktop
- A Github account. The GitHub account should have the same email as the one registered to your
git config --global user.emailthat you set in the first time git setup. You also need to set up SSH with Github (instructions here).
Recommended:
- A good text editor or IDE, such as PyCharm (which is powerful but bulky and geared toward advanced users).
- Heroku CLI (required for remote deployment to Heroku.)
Download and Setup the Code Base
The flagging website is open source; the whole website's source code is available on GitHub. This section of the setup guide shows you the preferred way to install it and set up the code on a local computer.
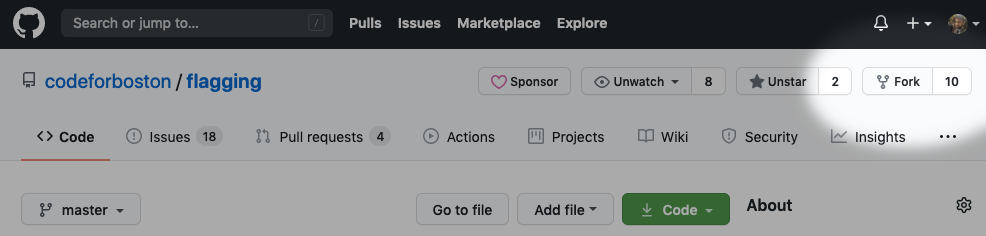
- Fork the main GitHub repo to your personal GitHub account. You can do that by going to the Code For Boston flagging repo and clicking on this button:
-
Point your terminal (Bash on OSX, command prompt on Windows) to the directory you want to put the
/flaggingproject folder inside of. E.g. if you want the project folder to be located at<yourname>/Documents/flagging, then point your directory to<yourname>/Documents. You can change directories using thecdcommand:cd "path/goes/here" -
Run the following to download your fork and setup the connection to the upstream remote. Replace
YOUR_USERNAME_HERE(in the first line) with your actual GitHub username.
git clone git@github.com:YOUR_USERNAME_HERE/flagging.git
cd flagging
git remote add upstream git@github.com:codeforboston/flagging.git
git fetch upstream
- In your newly created
flaggingfolder, run the following:
cp -n .env.example .env
Danger
If you do any commits to the repo, please make sure .env is properly gitignored! (.env.example does not need to be gitignored, only .env.) .env contains sensitive information.
-
The previous step created a file called
.env(pronounced "dot env"). This file will contain things like HOBOlink credentials and Twitter/X credentials.Please update
.env(NOT.env.example) to contain the correct credentials by replacing eachreplace_me.If you do not have HOBOlink credentials, please turn on demo mode by setting
USE_MOCK_DATA=true.
The steps below marked Optional are not required to get the website to run, but will improve the experience.
- (Optional) If you'd like, create a Mapbox access token and add it to your
.env: https://www.mapbox.com/ If you don't do this, the map will not fully render.
The steps below marked Very optional are generally not recommended unless you have a good reason you want to do them.
-
(Very optional) If you'd like, connect to Sentry via the
SENTRY_DSNandSENTRY_ENVIRONMENTenv vars: https://sentry.io/ -
(Very optional) You can also set up
httpsand run that way. Create a certfile and key via the command./run ssl-cert, and addCERTFILE=server.crt,KEYFILE=server.key, andPORT=443to your.env. However this will require some additional finagling as your browser will not by default trust self-signed certs, so it's not recommended for most users. -
(Very optional) You can also set up Twitter/X credentials and send tweets. However, right now we do not use Twitter/X; this functionality is effectively deprecated.
Run the Website Locally
After you get everything set up, you should run the website at least once.
-
Although not strictly required for running the website (as we will be using Docker Compose), it is recommended you install all the project dependencies into a virtual environment, and also enable
pre-commit(which does checks of your code before you commit changes).To do this, run the following:
uv venv .venv
.\.venv\Scripts\activate.bat
uv pip sync requirements.txt
pre-commit install
uv venv .venv
source .venv/bin/activate
uv pip sync requirements.txt
pre-commit install
- Build the Docker images required to run the site:
docker compose build
- Spin the website up:
docker compose up
- If this is your first time running the website, you will need to populate the database by running the batch job that retrieves data and runs the model. To do this, in a separate terminal (while the other terminal is still running), run the following command:
docker compose exec web flask update-db
Now visit the website at http://localhost/ (note it's http, not https). And you should be all set!